Video Transcript
In this QCAD tutorial, we talk about the most basic editing tools of QCAD.
We show what we can do using drag and drop, and how to quickly move or rotate entities using the keyboard.
We also look at the cut and paste tools and how they can be used to move entities.
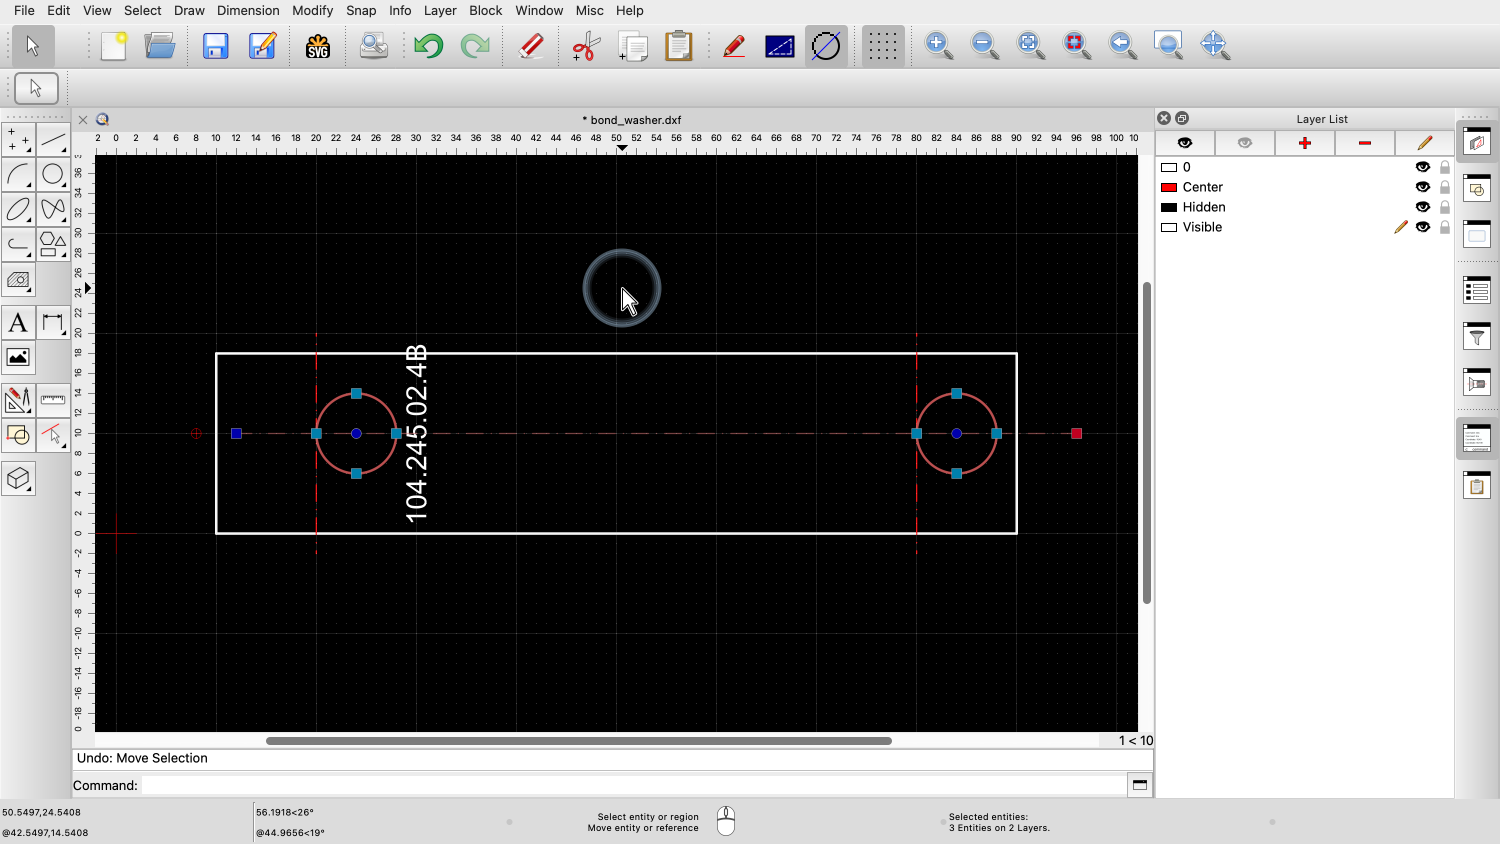
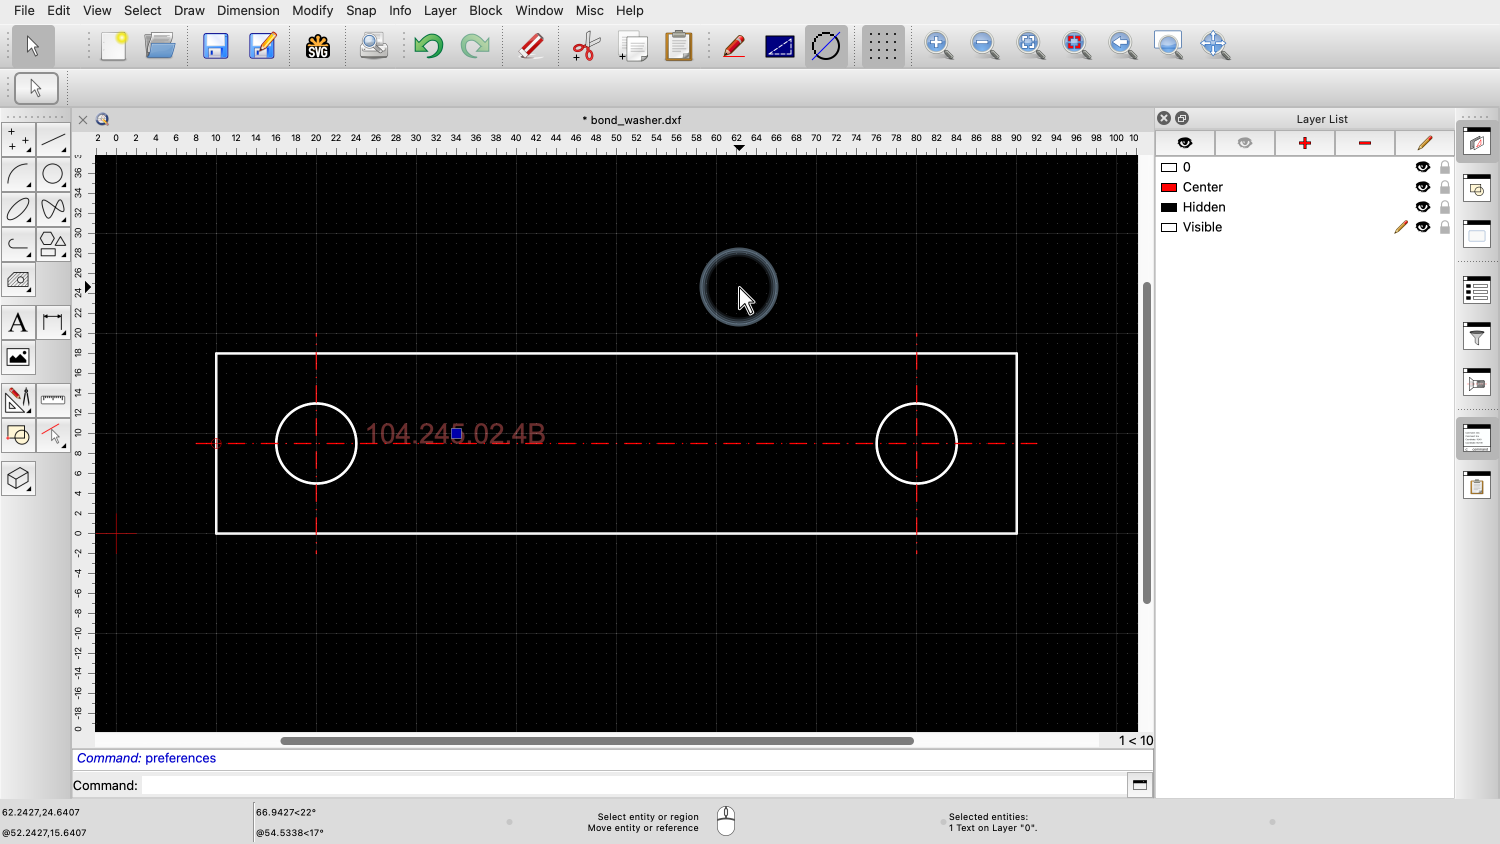
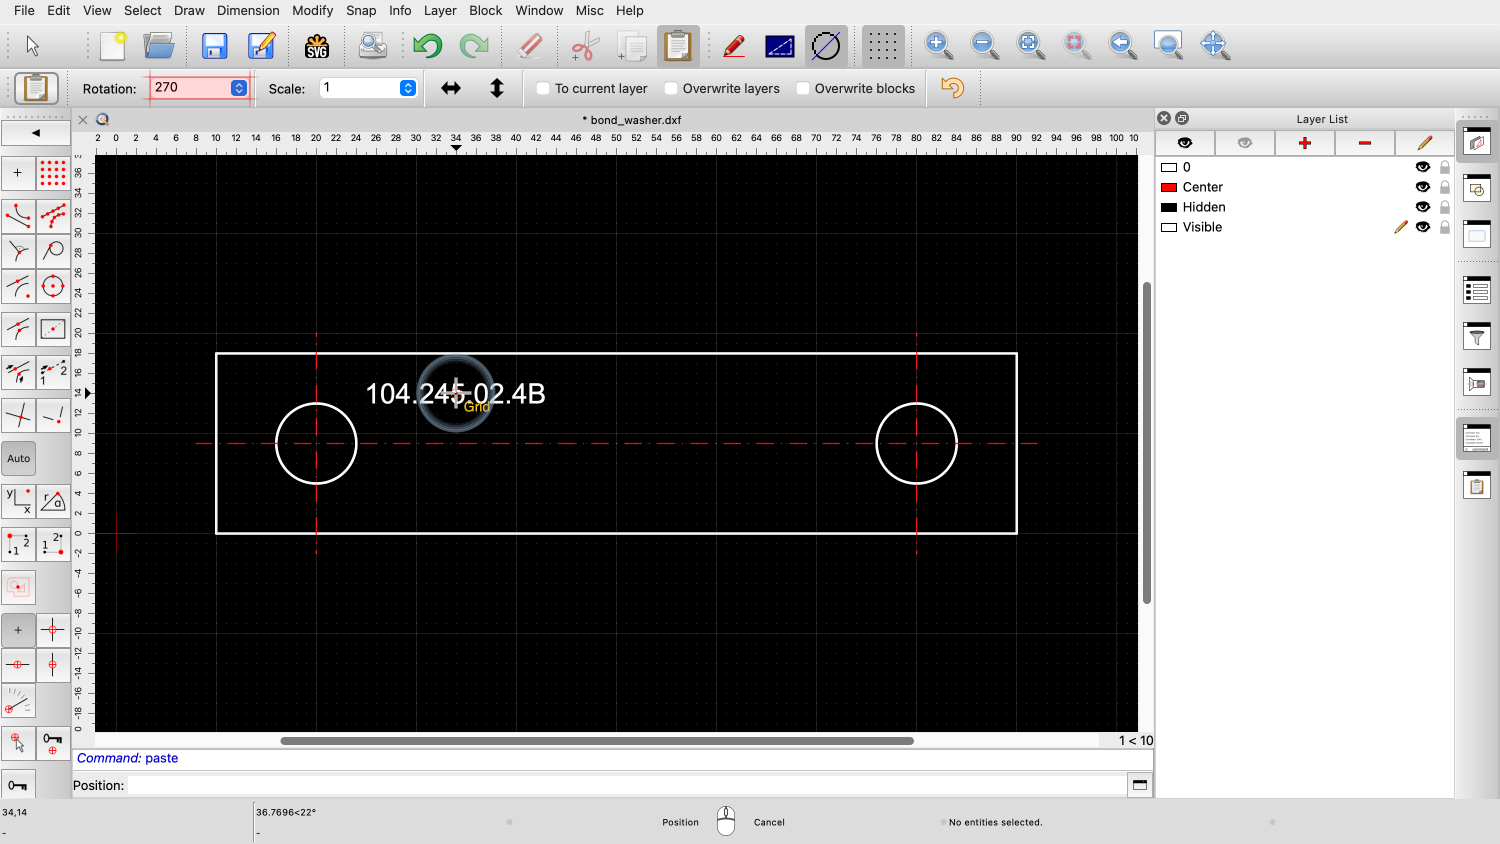
Example drawing: bond_washer.dxf
In this drawing, we would like to make the part narrower by two drawing units.
As always, there are many ways to achieve this and what we are going to do in this tutorial is not necessarily the best or fastest way to do this.
However, the methods demonstrated in this tutorial can sometimes be convenient to make small changes in a drawing.
We start by selecting the outer boundary of the part.

We can do this by clicking the first entity and then clicking the other entities while holding the shift key pressed.
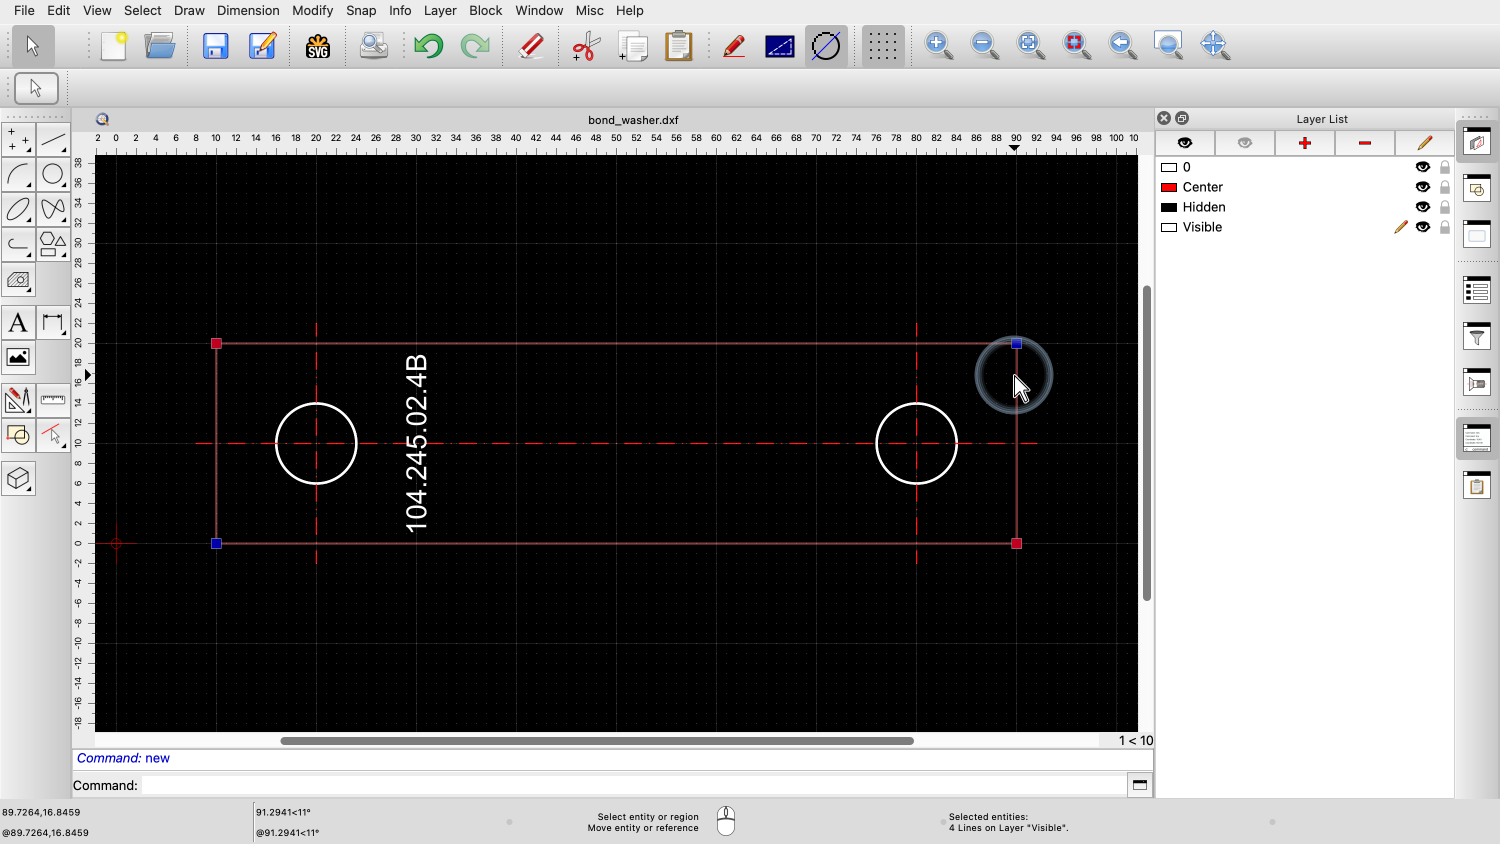
Holding the shift key while clicking an entity adds the entity to the existing selection.
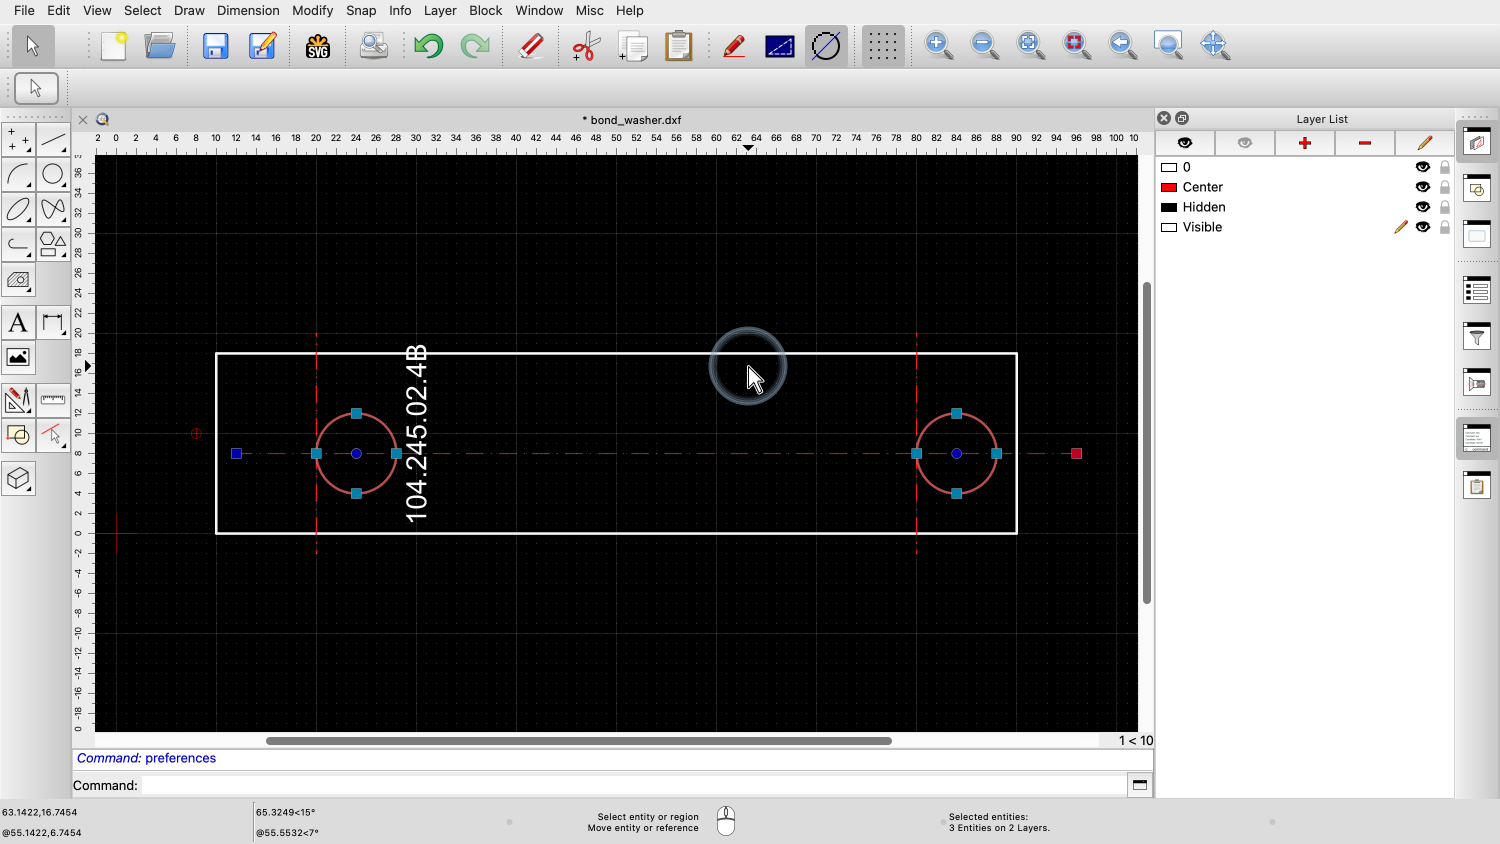
Since the four entities we want to select are all connected, which is often the case, QCAD also offers an easier way to select these entities.

To demonstrate this, we first click into an empty area of the drawing to deselect everything again.


Now, we can select the same four entities again by simply double-clicking one of the entities.
This immediately selects the entity we double-clicked as well as all connected entities.
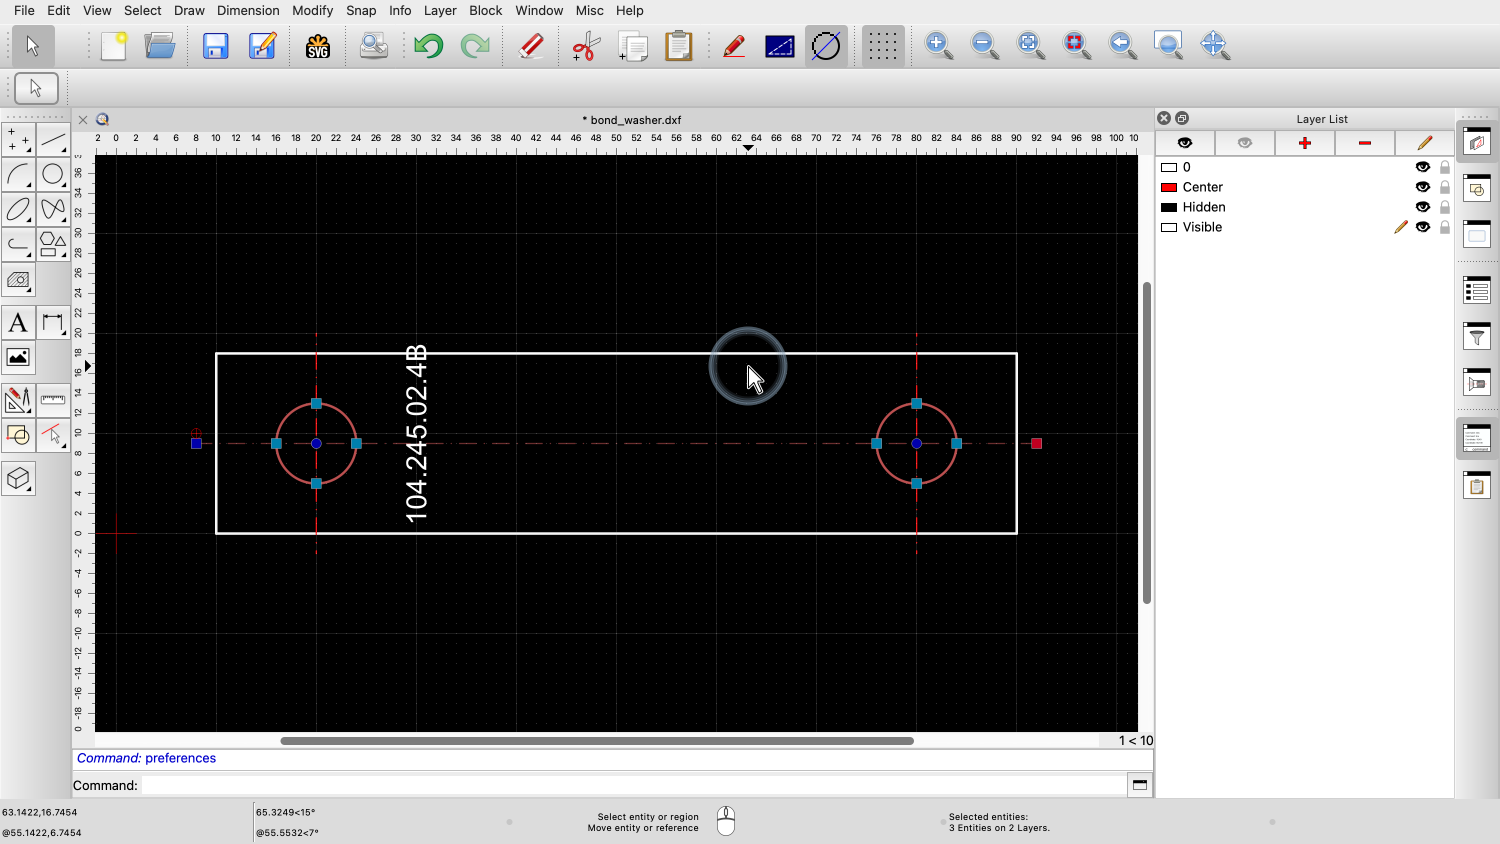
Once we have selected the entities we want to modify, we can move their reference points using drag and drop.
For this example, we start by moving the reference point at the top right.

First, we move the mouse cursor approximately on top of the reference point.
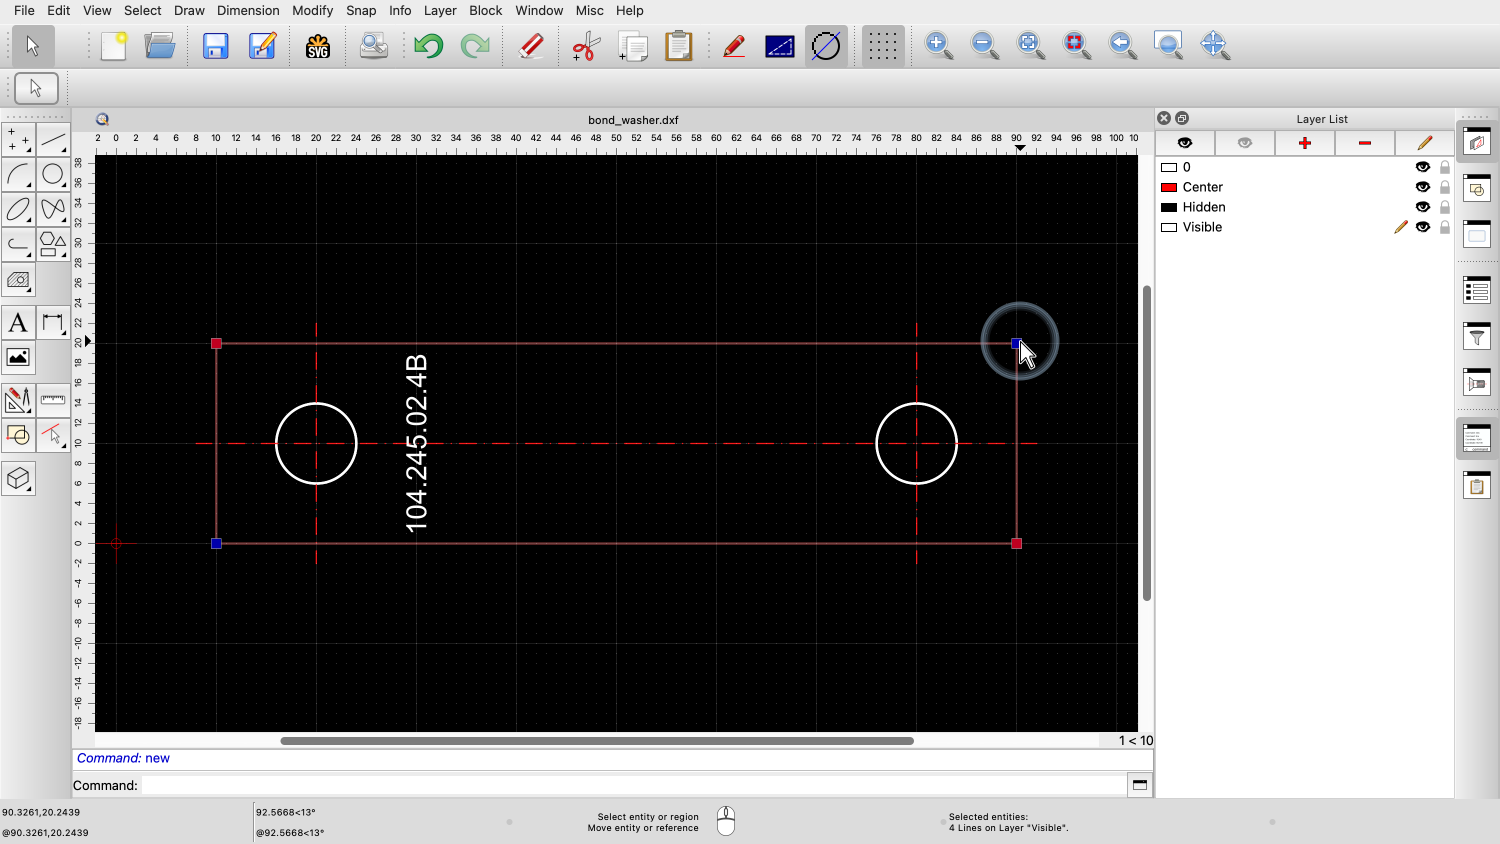
Then, we press the left mouse button and keep it pressed without letting go.


If we now move the mouse cursor, we can see that the reference point moves with it.

However, unlike with usual drag and drop operations, the reference point is not immediately placed when we let go of the left mouse button.
This gives us the advantage that we can let go of the mouse button and take our time to place the reference point at a new location.
For this, we can use all the usual snap tools or enter a coordinate without having to keep the mouse button pressed.

Once we have found our new location, we simply click to place the reference point at the new location.

We can move the reference point at the top left in the same way.


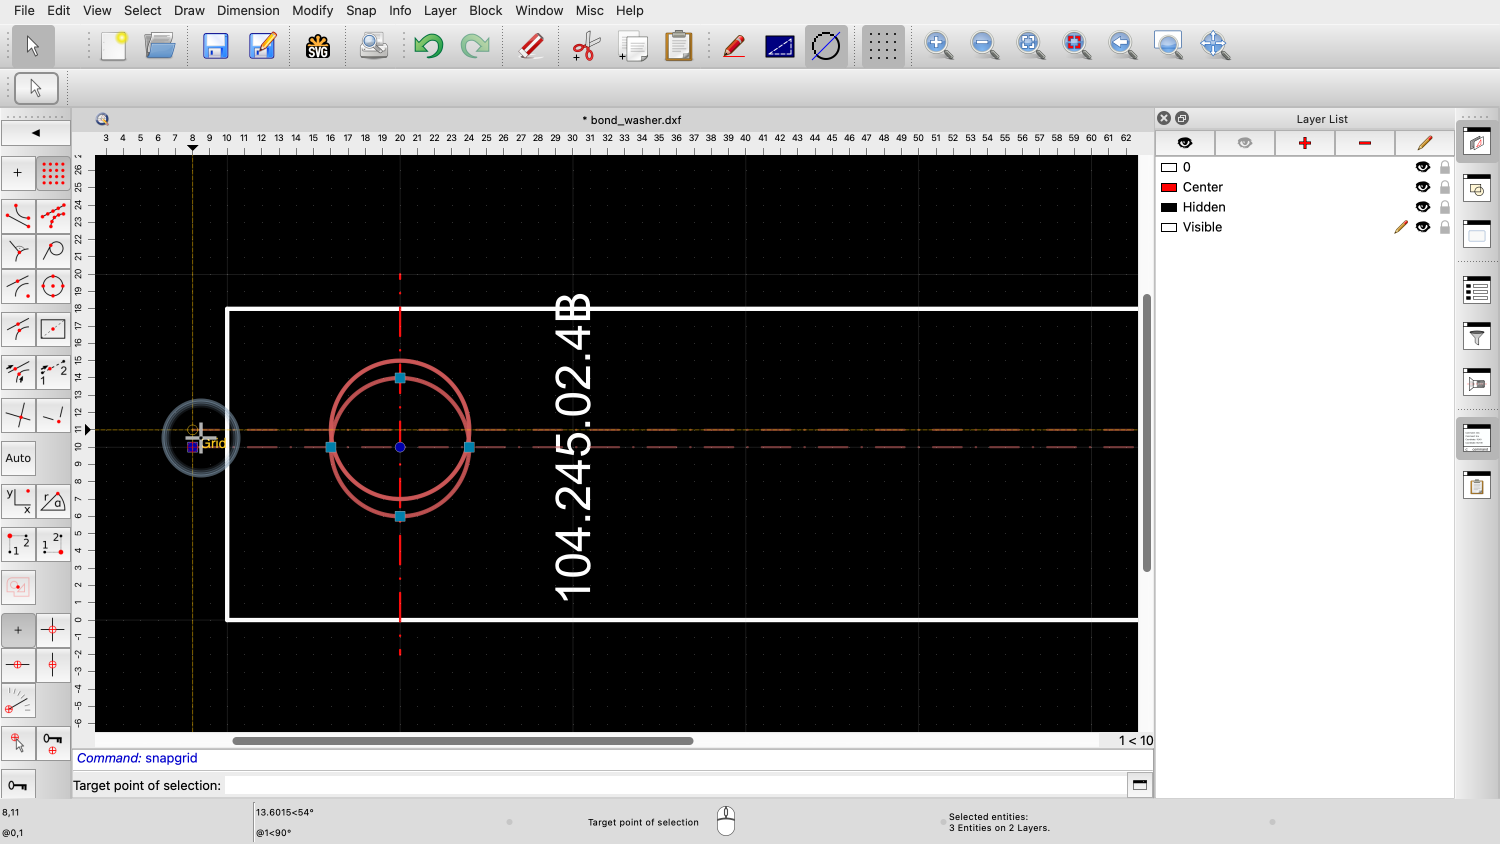
We can also drag and drop the end points of the two vertical center lines.
Next, we want to move the horizontal center line and the two circles one unit down.
For the purpose of this tutorial, we do this three times, using three different methods.
First, we move the three entities using drag and drop.

We first select the center line and the circles by clicking on them.

We hold down the shift key when adding the circles to the selection.

Now, we press the left mouse button on the center line but not on top of a reference point and keep it pressed.

We move the mouse cursor a bit until we can see that we are dragging the selected entities with the mouse.
We can now let go of the left mouse button.
Because we started dragging on an entity and not on a reference point, we are now moving the whole selection, not just a single reference point.
QCAD uses the reference point closest to the mouse pointer to position the selection.
In this example, the closest reference point when we started to drag was the left end point of the center line.
This point is now used to position the selection in the drawing.
We can now place the selection at the desired target point, again using the usual convenience of snap tools.
For this example, we zoom in a bit first, to make it easier to place the selection.

Now we click the left mouse button where we want to place the selection.

Auto zoom brings us back to the whole drawing.
This is how we can move a selection using drag and drop.

To show an alternative way, we first click the undo button to reverse our change.

Another way to move the selection is by pressing the arrow keys on our keyboard.
The arrow keys can be used to quickly move the selection around without using the mouse.
We can for example move the selection a bit to the right.
Each press of an arrow key moves the selection by one drawing unit.
We can configure the moving steps in the application preferences.

We can also configure factors to apply when holding the shift or alt key together with the arrow keys.
Now let's move the selection down a bit.

Back to the left.
And finally into the intended location.
This type of movement makes sense when we often move entities by the same fixed amount or when we want to try different positions.

When we undo these movements, each movement in the same direction accounts for one undo step.
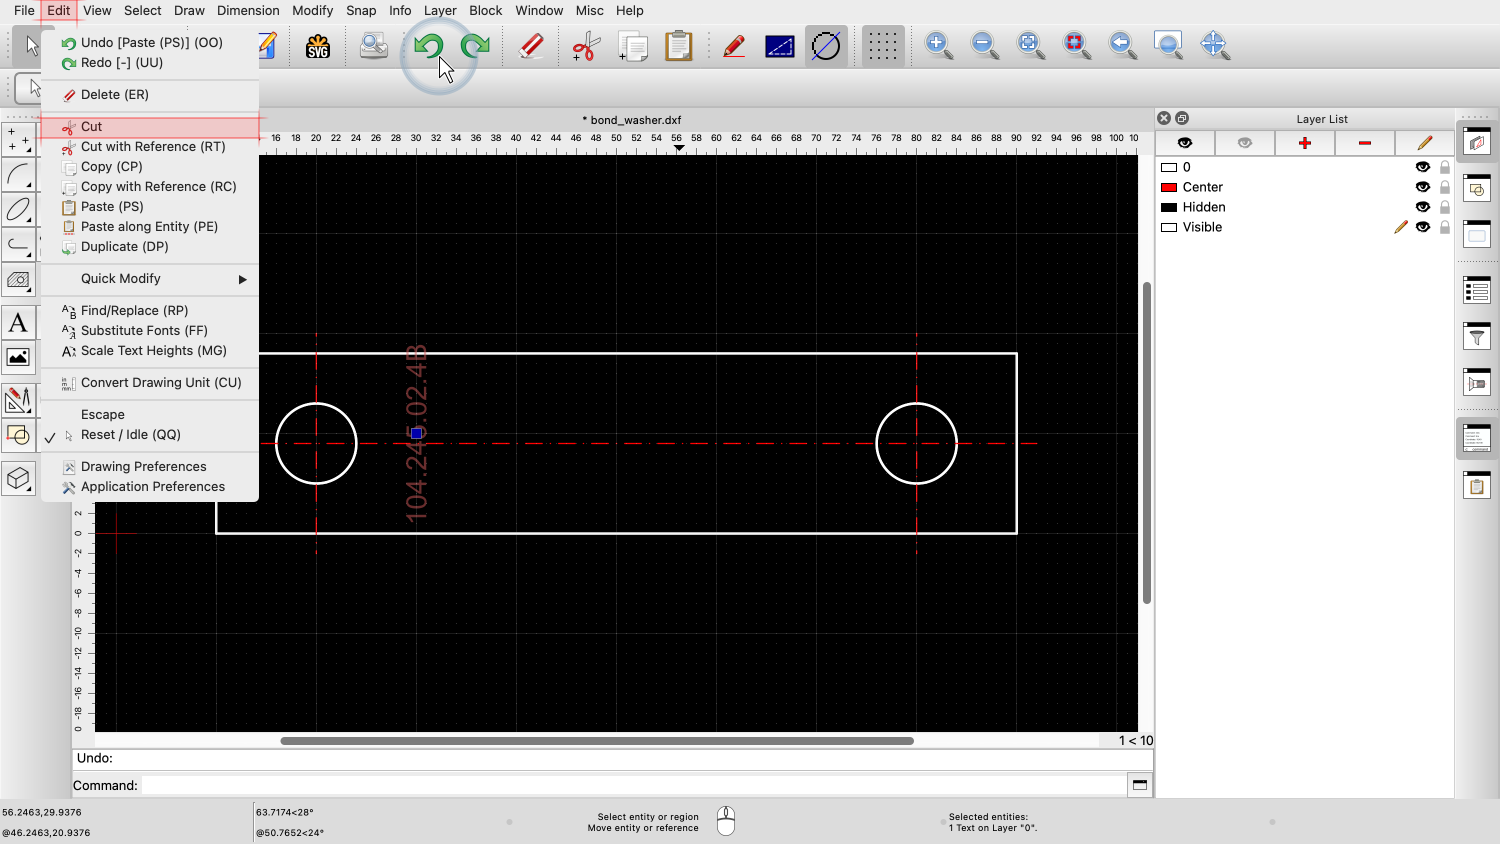
Another way to quickly move a selection is through cut and paste.
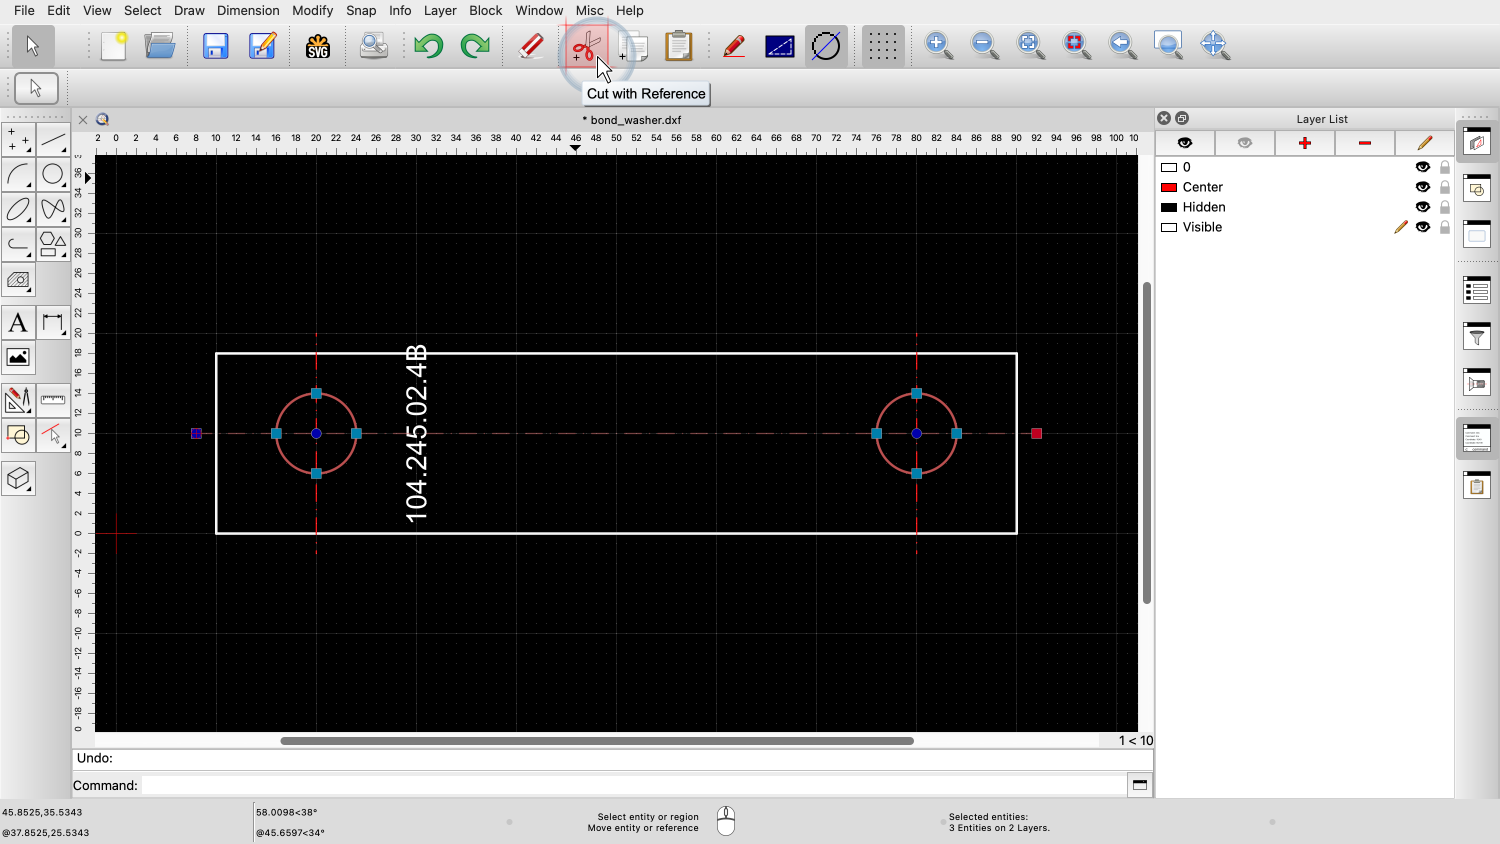
We use the button at the top to cut the selection.
Note that this is not the regular cut tool but the tool to cut with a reference.
This means that we can choose the reference point we want to use to later place the selection when pasting it.
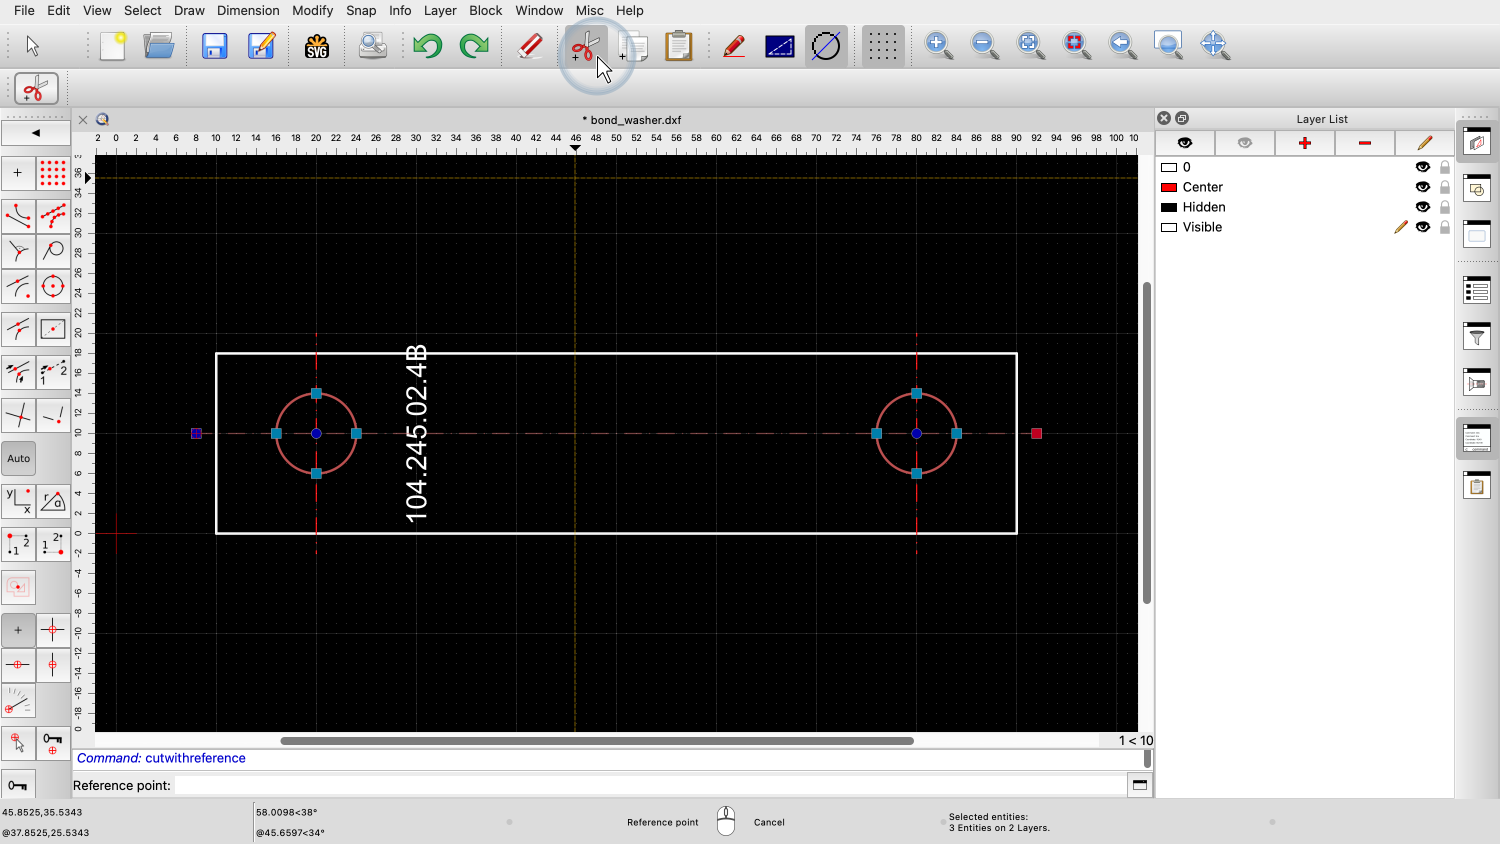

We click this button and choose the left intersection point of the center line with the outer boundary of the part as our reference point.
The center line and the two circles are now on the QCAD clipboard.

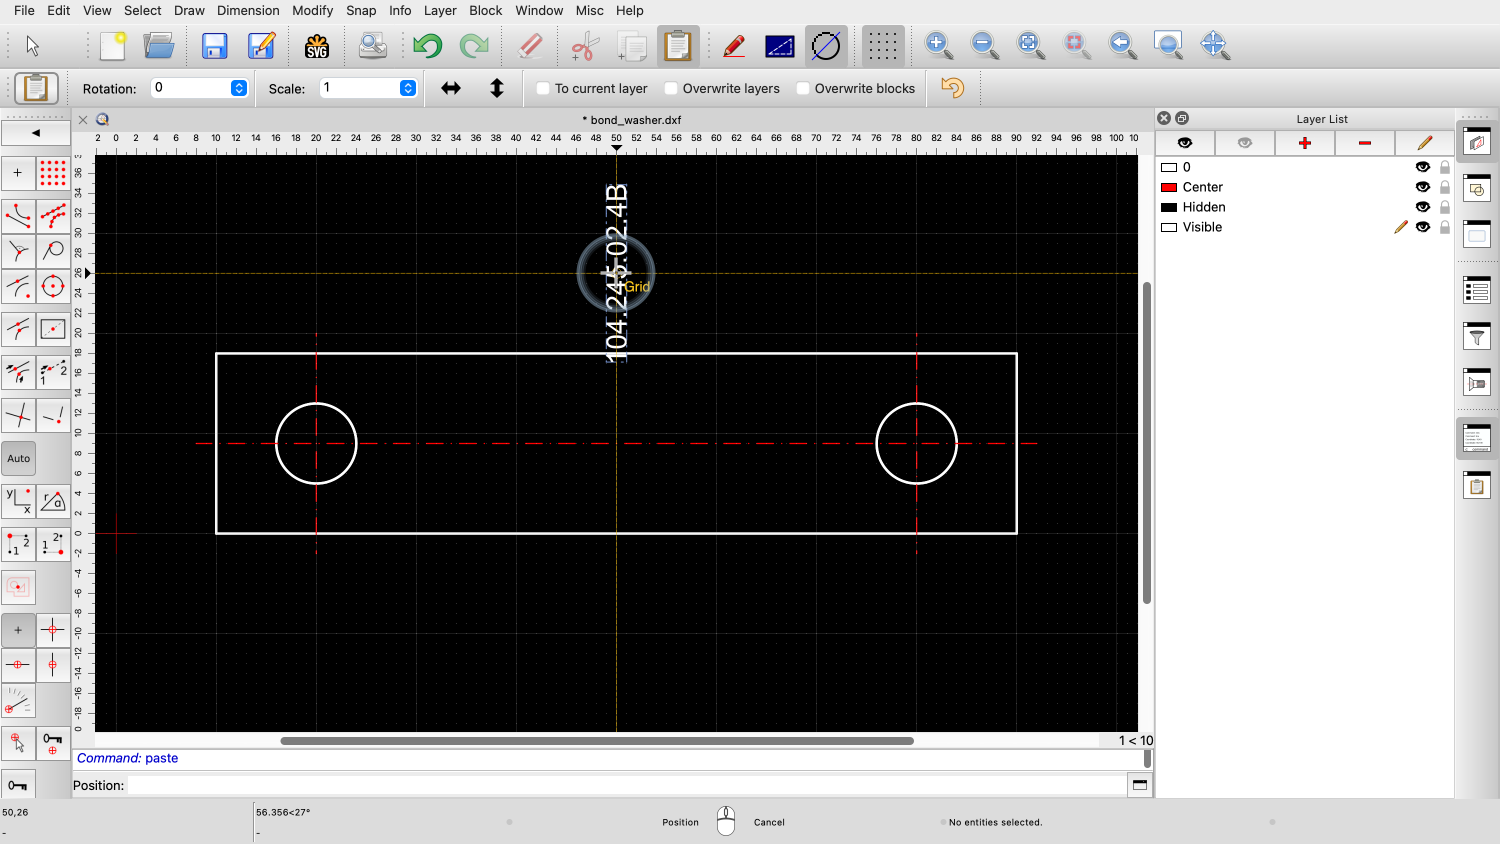
We now paste the clipboard using the paste tool.

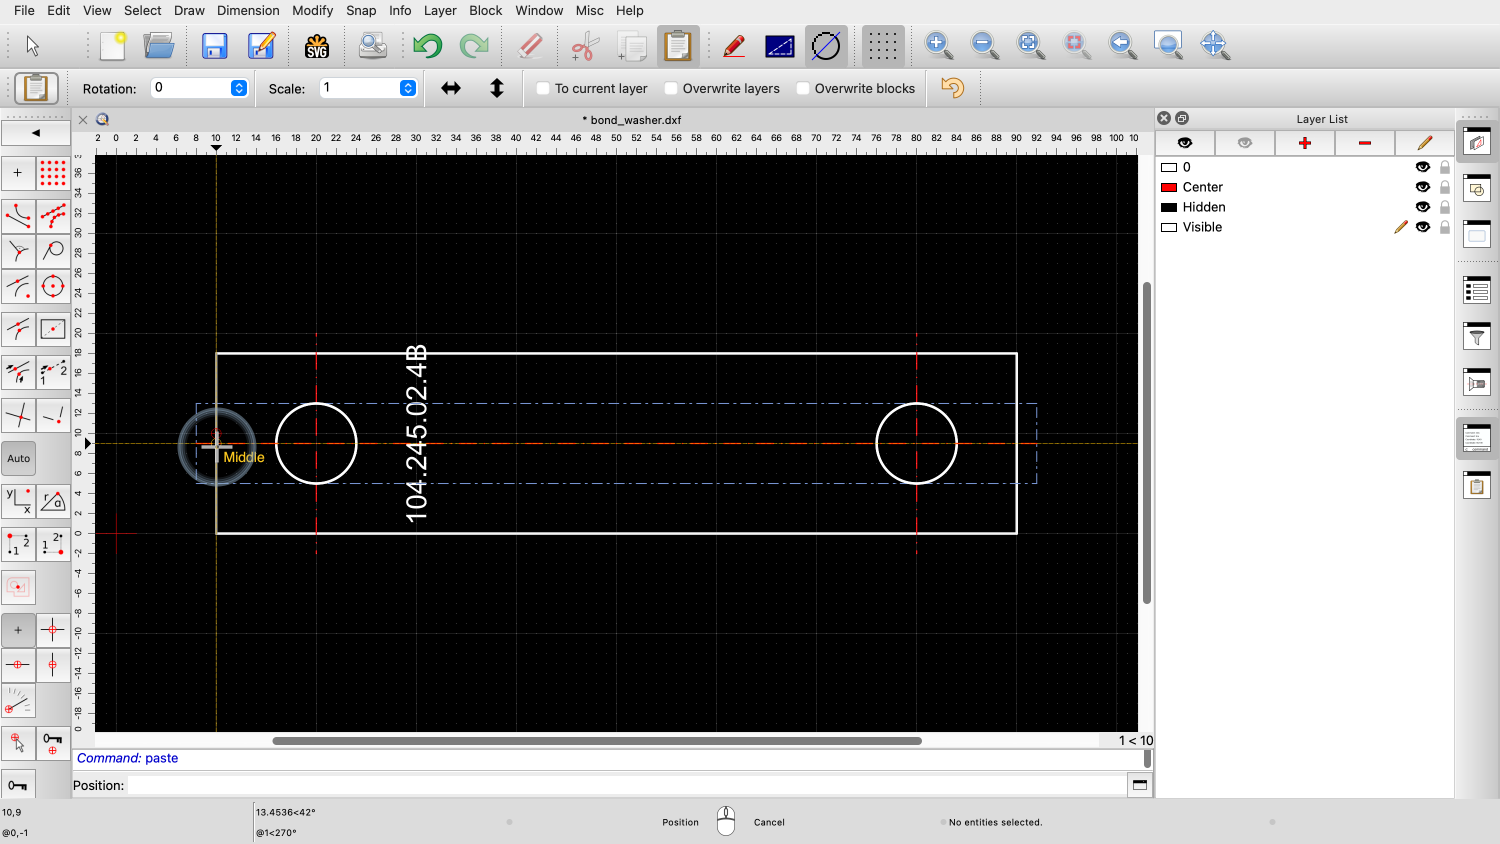
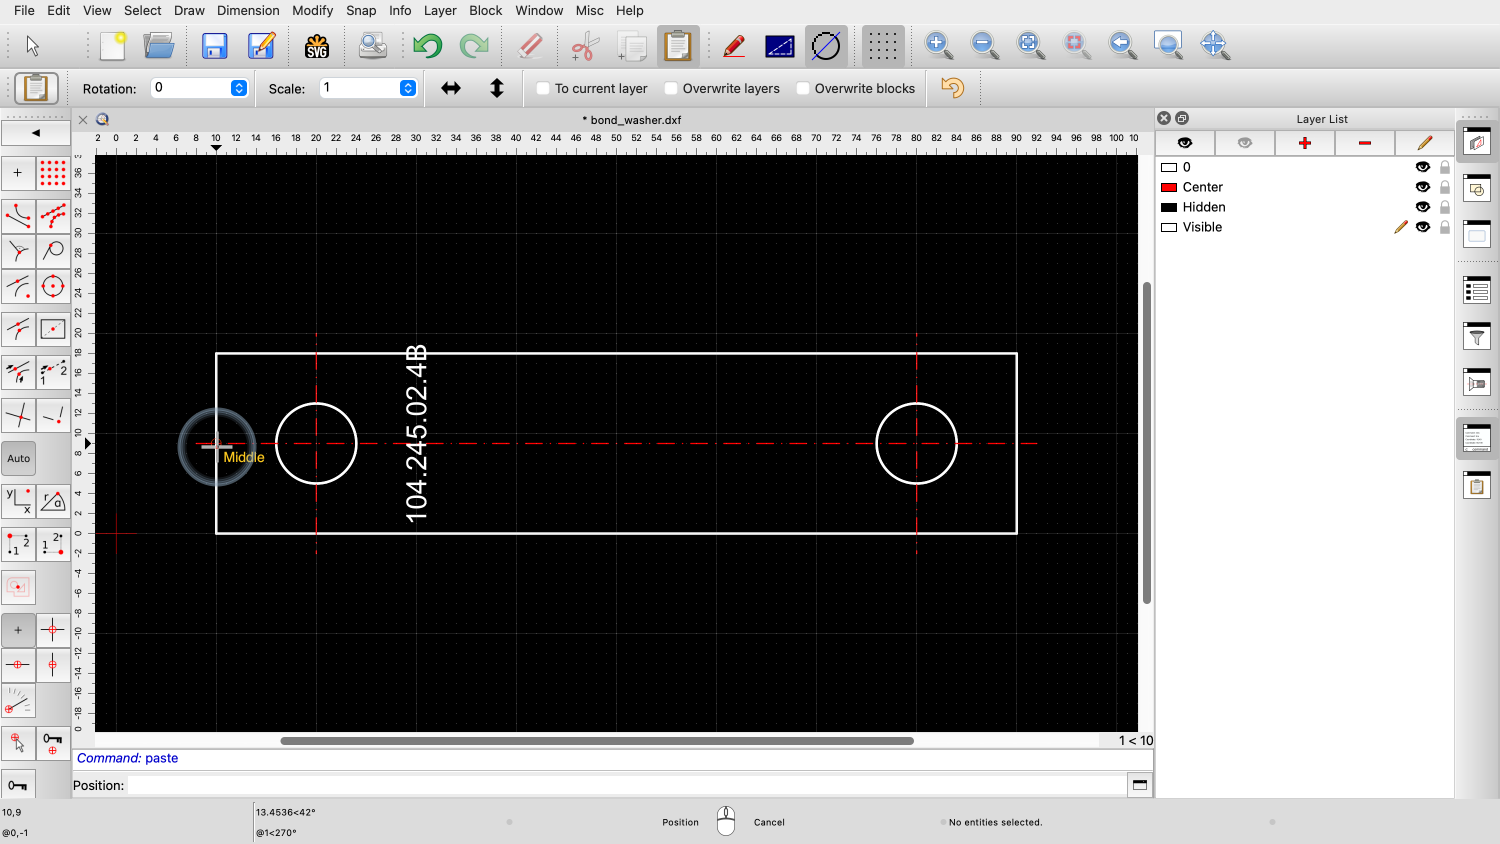
We place the selection in our drawing by clicking the desired target point at the middle of the left edge.
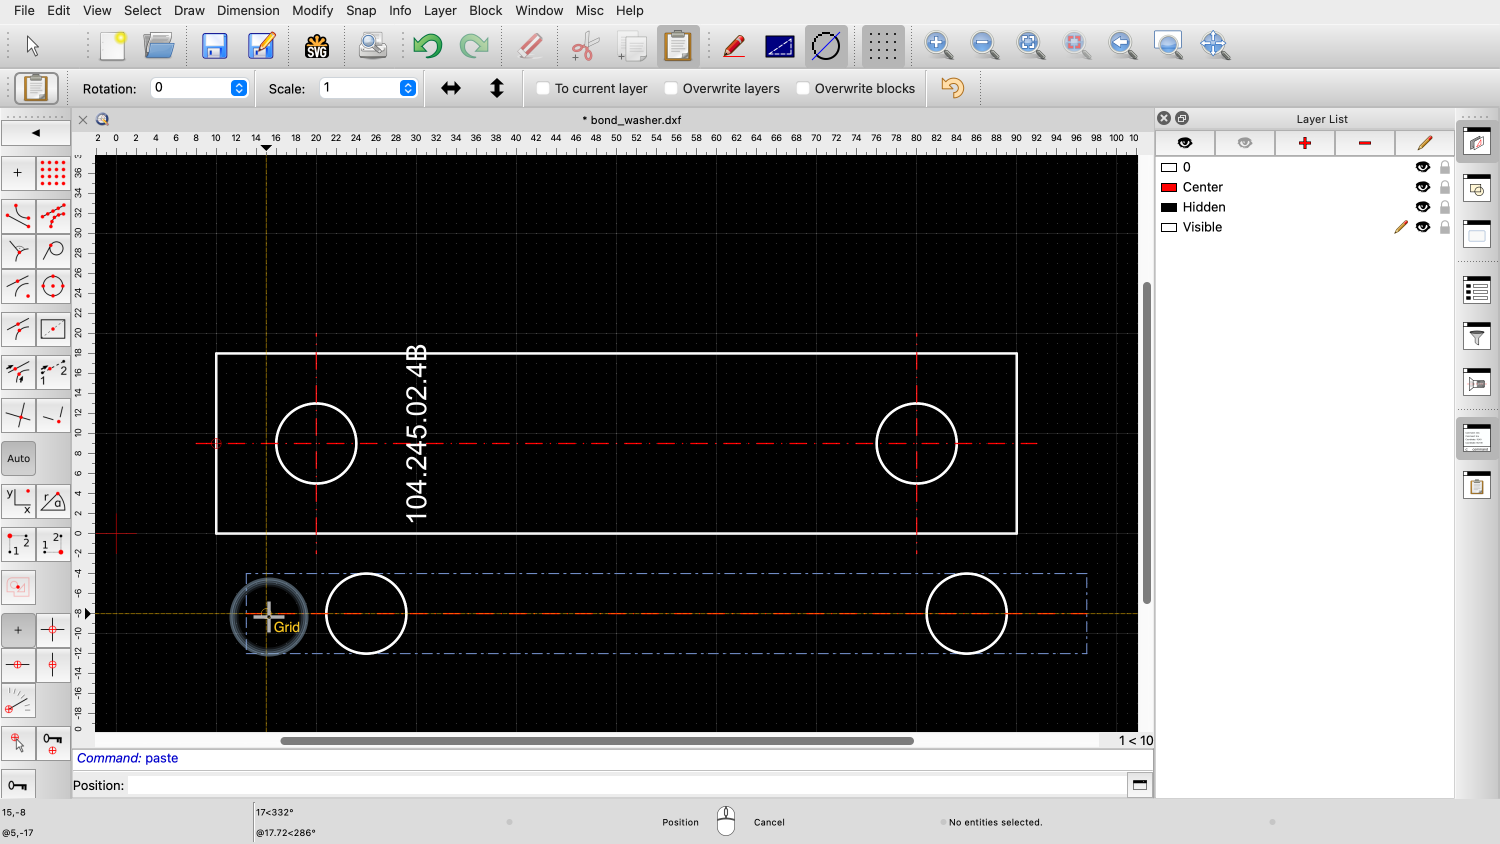
We could now place the selection again, at a different location.
But since we are done, we click the right mouse button to terminate the paste tool.
As you might have noticed, our text label no longer fits on our part.
To correct this, we will rotate the text by 90 degrees and move it to a different location.
We can do this using the arrow keys to move and the F5 and F6 function keys to rotate.

First, we select the text.

Then we rotate the text by 90 degrees by pressing the F6 key several times.
Each time we press the F6 key, the selected text is rotated clockwise by 15 degrees.
We can configure the rotation angle in the application preferences.

Just like for the arrow keys, we can configure also a multiplier to use when shift or alt are pressed.

Now, we can use the arrow keys to move the label into place.
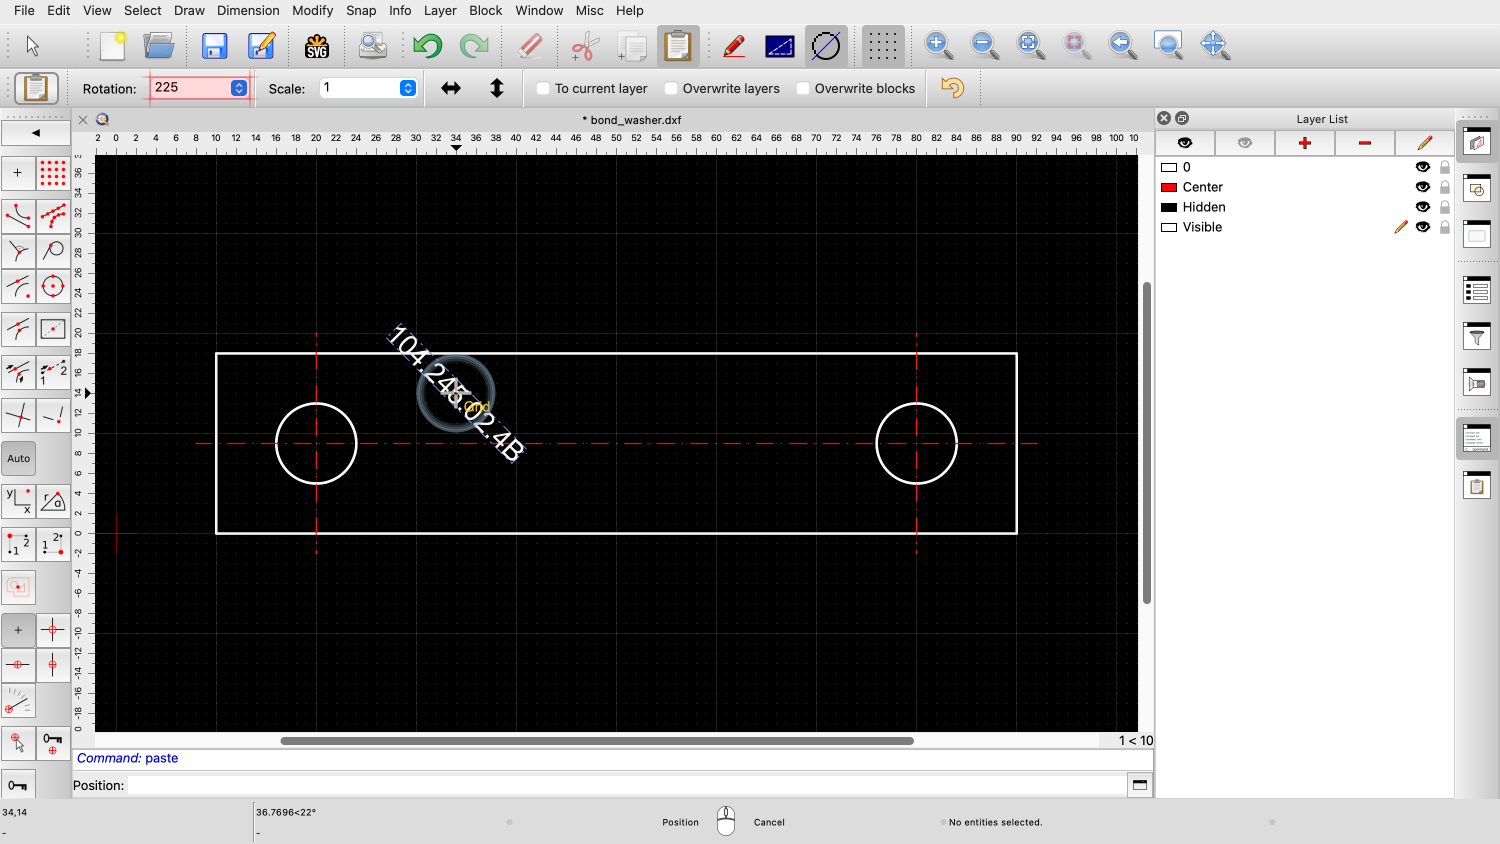
Another way to rotate and displace the text label is by using cut and paste.
First, we cut the selected text to the clipboard.
This time, we use the regular cut tool that doesn't ask us for a reference point.
This tool uses the center of the selection as reference point.
The text is now on the clipboard and we can paste it back into the drawing.


While pasting, we can rotate the text by minus 90 degrees by entering the rotation angle in the options toolbar.
Angles are always measured counter-clockwise.
A rotation of minus 90 degrees corresponds to a rotation of 90 degrees, clockwise.
We can also use the F5 and F6 keys again to rotate while pasting.
With F6, we rotate the text clockwise.

And with F5, counter-clockwise.
With a click, we place the text in the drawing.
To terminate the paste tool, we click the right mouse button.
You should now understand how make simple modifications to a drawing using drag and drop, the keyboard or cut and paste.
Be sure to practice this with your own installation.
Thank you for watching this QCAD tutorial.